Only primary contacts and positions with full access over Events can create events within an organization. If you do not have the proper permissions, you should first refer to your primary contact or reach out to the RSO Team in order to request the required access.
Manage your organization by selecting Manage from the switchboard and choosing your organization. Then go to Events in the organization tool menu (pancake icon).
Completing Core Event Details
Click on Create Event. Enter an event title, theme, description, start and end time, and location into their respective boxes. You can also identify if the event will be co-hosted with other organizations (if this option has been enabled for your campus). Required fields are marked by the red asterisk at their start.
You can add up to 18 different times/locations within one event submission. Upon approval, each instance of the event you created will become its own event that can be individually edited or changed. Click "Add Another Date" to create a recurring event.
You can also choose whether to include a helpful map, courtesy of Google Maps, to your event details page.
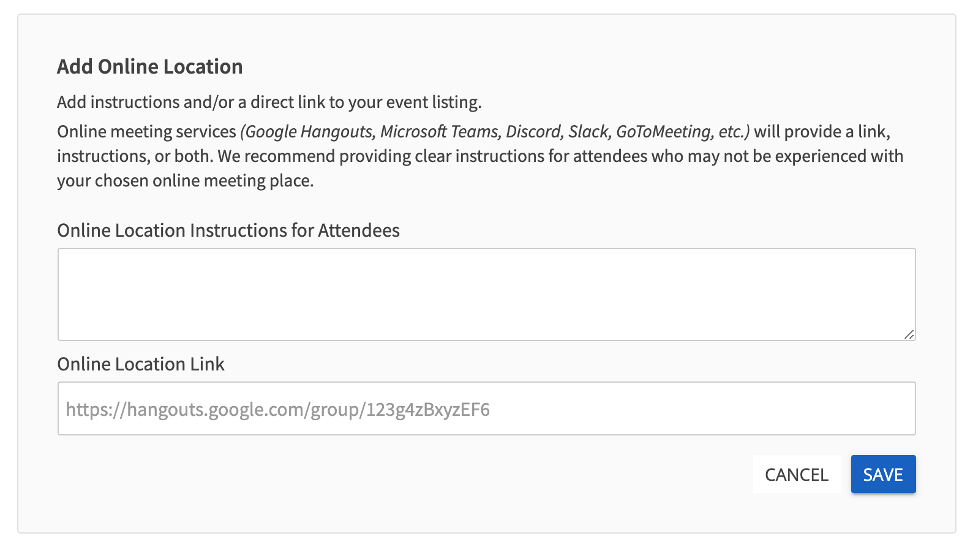
When submitting the details of an event, you can also add an online location as well as instructions for how to access it. Events can be exclusively online or combined with a physical location for both online and in-person attendance.
Additional Pages and Event Questions
The next page allows you to customize your RSVP settings. Use this tool to collect information from your attendees before the event or to set a specific attendee limit.
The third page allows you to customize your event's cover photo by clicking Choose File and adding an image that you feel will draw attention to your event. We recommend a photo that is 1024px by 600px or larger, under 10MB, and of one of the mentioned formats (JPG, JPEG, GIF, or PNG). The image will run through an image re-sizer, so the larger - the better! If you choose not to upload a photo, a default photo will be chosen for you based on the theme of your event. As this photo will be displayed alongside event details across Engage, it is best to choose a cover photo that is simply an image without text.
When you're ready, advance using Next. You will now be directed to a page to fill out additional details required by the Student Orgs Team. Information includes weekly digest submission, alcohol agreement, and/or daily digest submission. You will be prompted at this time to complete this information. Fill out the rest of the form and submit it for campus administrative approval.
Events now allow you to collect quick feedback from your attendees after an event is over, using the "Event Ratings" feature, for more information, please take a look at this article for more information.